Info.
- Easy
- 50 minutes
- For 8 people
- 0.4 € / person
- 308kcal per 100g.
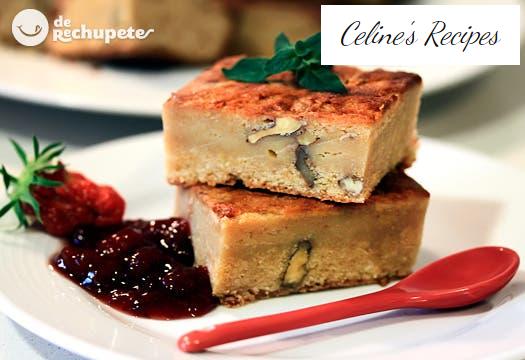
How to make some white chocolate brownies . When we talk about brownie whole world thinks dense black chocolate cake with nuts and unleavened. An intense texture on the inside and crisp on the outside makes this dessert the favorite of the most chocolatiers.
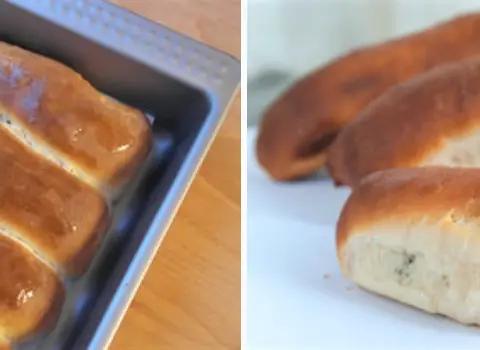
Surely the classic brownie with nuts you have already tried with any of my recipes, but until now I had not ventured to do it with white chocolate. Its flavor reminds me of small snacks with Fabiola bread, although it is much more intense.
The name ” brownie ” derives from its dark brown color, brown in English. Although other versions say they were invented by a woman named Brownie, that her name was taken from the popular Palmer Cox goblins “Brownies” (cartoons from 1887) or that she is the Americanized version of broonie , a Scottish sweet. Be that as it may in this case it should be called whitey , because although it takes a color similar to caramel, its color is not dark chocolate but light brown.
The first published recipe appeared in 1906 in the Fannie Merritt Farmer Boston Cooking School edition . The “legend” says that a housewife was preparing a chocolate cake and forgot to add yeast being the end result of everyone’s liking. American historian Meryle Evans believes that brownies are an Americanization of Scottish cocoa scones. Whatever the story, the real one is not known … what is clear this chocolate cake became popular in the 1920s.
For those purists who think that white chocolate is not chocolate because of its light yellow or ivory color, I assure you that it is chocolate and that it contains cocoa, although in the form of butter. I love it since the melting point of cocoa butter is high enough to keep it solid at room temperature, but low enough to make it melt in your mouth, just delicious.
Preparation of white chocolate brownies
- The first thing is to prepare the container where we are going to cook them, I have used a 20 × 20 glass tray. The size of the tray gives 9 generous brownies, but it all depends on how we want it to be thick, if you want them less tall, use a larger tray. Spread with butter and sprinkle with wheat flour on the surface of the tray.
- We put the white chocolate in small pieces with the butter in a bowl and put it in the microwave for 4 minutes at medium temperature. We take out every 2 minutes to mix and avoid burning. Once the time is over, we mix the mixture well with a rod until there is a chocolate cream similar to the white nocilla.
- In a large bowl, beat the eggs with the sugar and the tablespoon of vanilla essence until a frothy cream remains. Pour the white chocolate cream into the previous bowl, mix well with the rods.
- We sift the flour with a strainer and add to the previous mixture, stirring very well until obtaining a homogeneous cream paste. We pour the chocolate cream-mixture into the glass tray. I have helped myself with a silicone palette to take advantage of everything and that nothing is left in the bowl. If we have time, a good trick to improve the texture of brownies is to place the dough without baking in the mold in the fridge for a few hours or even overnight, we will achieve a professional pastry chef result.
- We divide the walnuts in 2 and introduce them in the cream, covering them well with a fork with the white chocolate cream of the brownie.
Baking and final presentation of white chocolate brownies
- We cook our brownies in the oven preheated to 180º C in the intermediate part for 35 minutes (as I mentioned in some other recipe, it all depends on the oven, always look with a fork that when pricked comes out dry). When it has been in the oven for 15 minutes, cover with a little aluminum foil so that the surface does not burn and the crust is perfect and crisp. You should not spend on the subject of time because you will get some dry cakes that no one can eat.
- Another tip is to bake the brownie less time at a higher temperature (250º C, the maximum of my electric oven), then we place the mold in ice water for 5 minutes. The sudden change in temperature will produce a crispy crust and a soft, dense interior.
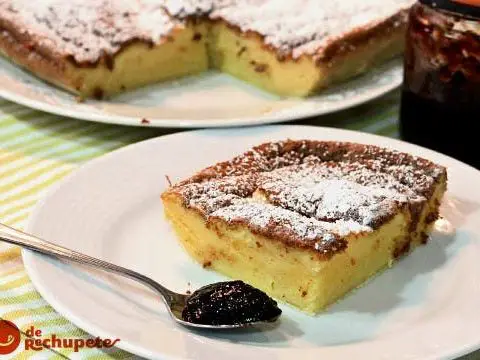
- We let it cool on the tray and when it is cold cut it into 9 equal pieces. We separate them from the tray carefully and present on a plate with a little strawberry jam, it will not even paint. One trick to make brownies easier to cut is to put the pan in the freezer for a few minutes. We pass a sharp knife in hot water, dry it with a cloth and cut directly so that they come out perfect and do not come undone.
- If they are left over (which I doubt), we must place them in an airtight container and put them in the fridge. At room temperature, they will last three or four days, in the fridge about five. We can also freeze our brownies although it can affect their texture, so it is best to take some precautions. We wrap each square in plastic wrap and then in aluminum foil, place the wrapped squares in a special freezer bag.
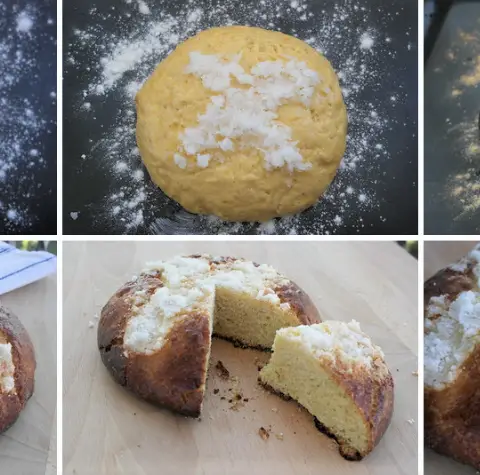
I leave you with photos of the process step by step. I hope you like it and dare to prepare it.