
Info.
- Easy
- 20 minutes
- For 6 people
- 0.1 € / person
- 232kcal per 100g.
How to make homemade panko . Panko is a recipe for coarsely chopped or coarsely grated bread used in Japanese cuisine.
We could say, for simplicity, that it is Japanese breadcrumbs and equate panko with traditional western breadcrumbs, but we would not be doing it justice. The panko , due to its thicker texture, provides a crispy touch to the breaded and battered that is not achieved with our traditional breadcrumbs. Once fried, it is very crisp, light and more digestive, since the breadcrumb absorbs less oil. With panko you get less calorie and lighter dishes.
The difference between panko and our traditional breadcrumbs is that the former is made only with the crumb of bread that is chopped fresh, never toasted, into thick and irregular pieces, and is subsequently dried in the oven at a very low temperature.
Traditional western breadcrumbs, on the other hand, are made with dry and hard bread, using all its parts, that is, crumb and crust, and pulverized with a robot until obtaining a very fine texture.
If we are lucky enough to find authentic Japanese bread, whose flavor is slightly sweet due to the milk with which it is made, then we will be able to make a homemade panko with honor registration. But if this is not the case, a crustless bread, better from the bakery, is a great option that also gives good results.
Today the panko has become a regular in many of our pantries and it is increasingly easy to find it in most large stores, but it may not be your case or, if it is found, the price will be high. Therefore we are going to see how to prepare homemade panko, something very simple and inexpensive. And that no one is left without their panko.
As we just mentioned, preparing panko at home is easy to say enough . There are several ways to do it, from the most primitive, in which no more utensils are needed than scissors and an oven, to the most sophisticated (not much more) in which the scissors are replaced by a kitchen robot.
We have prepared our homemade panko in the second way. We have a small robot at home that we have put to work and we have saved a few minutes, but if you do not have it you can always chop the bread by hand with scissors and a little patience.
Preparation of homemade panko
- If we use sliced bread with crust, the first thing we do is remove it because we are only going to use the crumb. We reserve the crust for other elaborations, croutons, sticks for dipping, etc. You know that nothing is thrown here.
- Once the crust is removed, we slice the bread and introduce it into a robot or electric mincer. It is not convenient to fill the container too much so that the bread has space in which to move and the mincing is easier and more effective. Two slices of bread, for a mincer like the one you see in the photos, is the recommended amount.
- Chop or grind using short, dry strokes. We check the thickness of the crumbs, they should not be too small, and we remove when we are happy with the result.
- We repeat the operation with the rest of the bread slices.
Baking and final presentation of the panko
- We cover a cookie sheet with parchment paper. We spread the breadcrumbs on the surface, without pressing. Yes we have done a lot, we use another baking tray more.
- We introduce in the oven, previously preheated, with heat above and below, at 70º C. Slowly dry the breadcrumbs for about 20 minutes. Be careful, they should not be roasted but dried.
- After this time, we check the drying point. If we notice them slightly tender, we move them a little and let them dry a few more minutes in the oven.
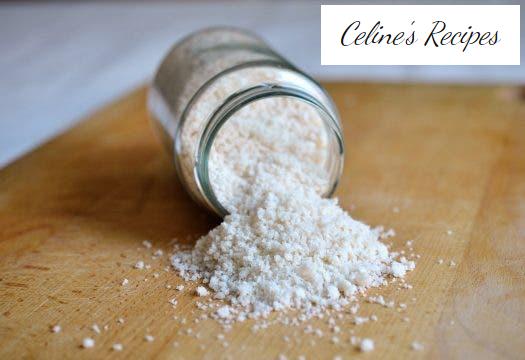
- Finally, we remove the tray from the oven. We allow the panko to cool completely to room temperature before using or storing for later use.
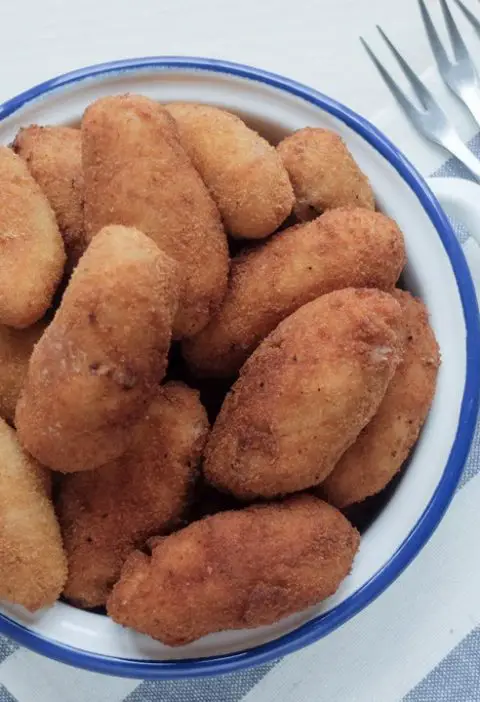
You just need to choose your favorite Japanese recipe and prepare it homemade and yummy. I recommend these panko-coated tenderloins , delicious.
If even so with the step by step you are not clear, I leave you a more comprehensive step by step in photos of this homemade panko recipe so that it comes out yes or yes. Do not hesitate, follow these photos.
Tips and advice for a homemade panko of yummy
- With this recipe you will get 180 gr. homemade panko. This is the recipe that most closely resembles the traditional one, but you can tune it with other types of bread to vary your recipes.
- If we keep the homemade panko in an airtight container isolated from moisture, we will keep it in very good condition and we can use it in our elaborations for two or three weeks.
- Although the panko is made with fresh crumb, we can leave the slices of bread to dry slightly at room temperature for a few hours before mincing them. Also use old bread that has not dried out.
- Battering or breading is the most common use of panko. But we can also use it as a topping to gratinate in the oven and get more crispy. To taste.