Info.
- Half
- 120 minutes
- For 10 people
- 1.1 € / person
- 405kcal per 100g.
How to make chocolate cake for Halloween.
Halloween is just around the corner and we come up with a new sweet suggestion that may be the flourish of your celebration.
We are in complex dates if we like dessert or if we want to diet , the wind fritters , the panellets or pie , the bones of the saint and the recipes with pumpkin are combined with spider cookies , delicious ghost brownies or the Frankenstein cupcakes .
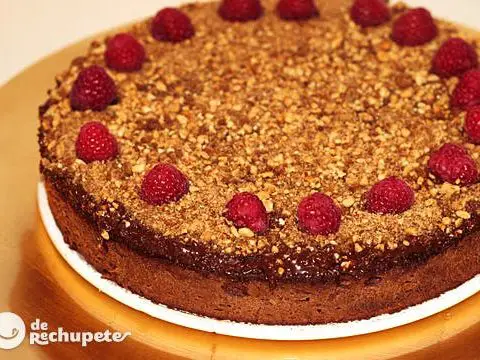
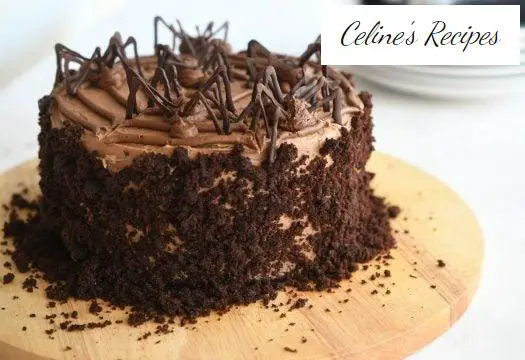
This chocolate cake with spiders for Halloween is attractive, original and has all the ballots to fall in love with whoever is lucky enough to share it with you.
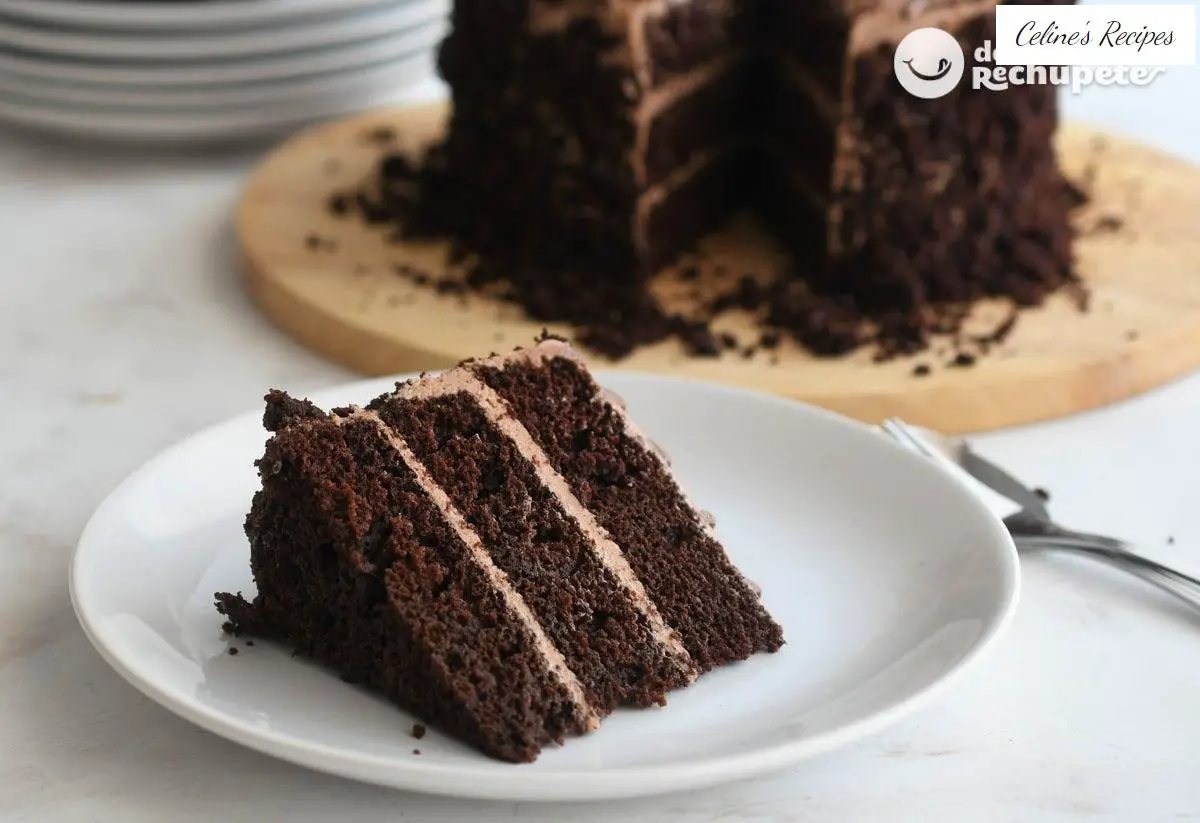
It is a layer cake or layer cake made with chocolate cake , cocoa cream and hazelnuts and chocolate spiders.
It can unleash madness among chocolate lovers as it is delicious, juicy and smooth, so be warned. Of course, it is forceful and quite full.
Be restrained when distributing this dessert . Make portions and serve so that nobody explodes with it. Because they will not leave anything on the plate, it is too rich for this to happen.
If you do not want to get caught out of time, you can prepare the biscuits, creams and spider legs the day before or even two days before. The biscuits are ultra juicy and, well wrapped in plastic wrap, they last in the fridge for several days in good condition.
Come on all this work, on Halloween or Samaín you just have to assemble the cake and enjoy!
Preparation of the base cakes for the cake
- We start by preparing the biscuits of the cake so that they have time to cool before assembly.
- We preheat the oven to 180º C, with heat up and down. We line the base of four 18 cm oven pans with vegetable paper.
- We sift flour, cocoa, chemical yeast, baking soda and a pinch of salt.
- We heat the butter and beat it with the sugar, the eggs and the milk.
- We incorporate the dry ingredients, stirring gently and, finally, the hot water. We stir again until obtaining a homogeneous mass.
- We divide the dough for the biscuits between the four molds and put them in the oven, where we cook them for 20 minutes.
- After this time, remove the molds and let cool completely before removing from the mold.
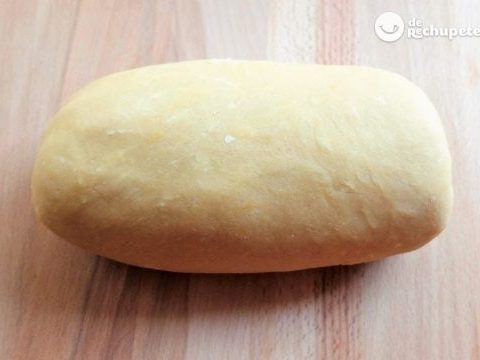
- To make the biscuits take more body and make the cake easier to assemble, we individually wrap them in plastic wrap and store them in the fridge.
Preparation of the filling and topping of the cake
- We continue with the preparation of the cocoa cream for the filling and coverage.
- To do this, we beat the butter until it is very creamy, using electric rods or a kitchen robot.
- While continuing to beat, add the icing sugar, little by little, the vanilla and a pinch of salt. Next we add the cocoa and hazelnut cream and the cream.
- We separate three or four tablespoons of the cream and add the cocoa powder.
- We stir well until homogeneous and we pass to a pastry bag with a small smooth nozzle.
- With this cream we will make the spider web of the surface and the bodies of the spiders.
- We reserve the two creams in the fridge until the moment of use.
Preparation of spider legs. Decor
- We finish the pre-elaborations with the legs of the spiders. To do this we melt the dark chocolate, either in the microwave at short heat intervals or in a water bath.
- We introduce the melted chocolate in a pastry bag and cut the tip, leaving a small hole.
- On a silicone mat or sulfurized paper we draw the spider legs, in an inverted V shape.
- We put in the fridge and let it harden for a few minutes.
Assembly and final presentation of the Halloween cake
- To assemble the cake we are going to use three biscuits, but you can use all four. It will depend on your taste and the number of diners.
- We cut the upper hump of each cake. We take off one of them and save the others for another elaboration (we can make biscuits or cake pops , for example).
- We place one of the biscuits on a plate or serving board and cover with a layer of filling.
- We cover with another sponge cake and repeat the operation. We finish with a third cake.
- We cover the surface and sides with a thin layer of filler.
- We take the cocoa cream that we have in the pastry bag and draw several parallel circles on the surface of the cake. With a skewer or a toothpick we break them radially to form the cobweb.
- With the same cream we form the bodies of the spiders on the cobweb: small round head and larger and elongated body.
- We place the chocolate legs very carefully and trying not to touch the chocolate much because it melts very quickly. They are very fragile.
- We finish decorating by putting the crumbled cake around the edge of the cake and keep in the fridge until serving time.
You can see all the photos of the step by step in this recipe book of the chocolate cake for Halloween .
Tips for a Perfect Halloween Chocolate Cake
- The chocolate legs are very delicate, it is advisable not to make them too thin so that they do not break when placed. In any case, it is good to make legs to spare.
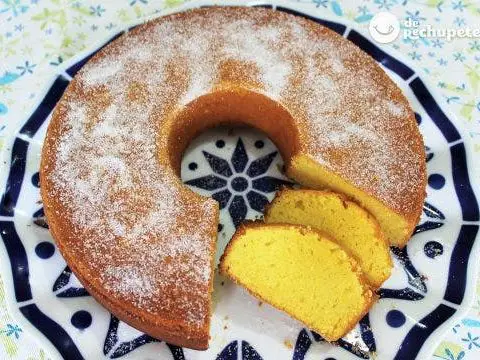
- This sponge cake is so tasty and juicy that you don’t need to be dipped in syrup. You can use any other recipe, but this is a sure hit.
- Instead of baking the biscuits separately, you can use a mold or two of greater height and then cut them into layers. The oven time will have to be longer, between 35 and 40 minutes.
- The amount of sugar in the sponge cake and the filling is quite adjusted, but it can be reduced a little to make it lighter and, especially, if you like not very sweet sweets.
- To make the cake assembly more comfortable, you can store the biscuits in the fridge for a few hours.
- In case of preparing the filling and decoration creams in advance, it is necessary to take them out of the fridge half an hour before using them to make it easier to work with them.