Info.
- Easy
- 15 minutes
- For 4 people
- 0.2 € / person
- 150kcal per 100g.
Clear to the point of snow. Tips to make them perfect
Today is about techniques. Because sometimes everything is a matter of skill … and practice. This is the case of mounting the whites to the point of snow .
Something that seems complicated to us, but that is not (so much). We just need to know some tricks to achieve the desired result.
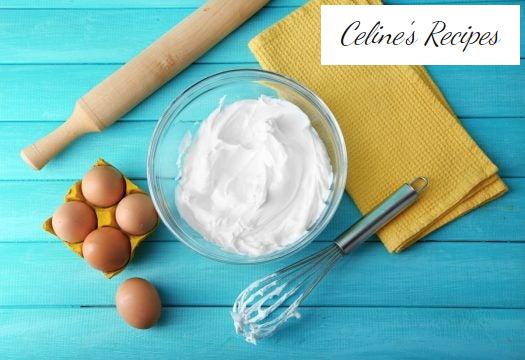
But what does it mean to mount the whites to the snow point? Well, it is no more and no less than getting the whites to acquire a foamy and solid texture by incorporating as much air as possible .
We introduce the air beating from top to bottom with circular movements. It can be done in two ways: manual , introducing air with a fork or rods; or the electric one , in which we use electric rods or a mixer. In this way we do not have to make as much effort and it will take us a few minutes to assemble the whites.
Before starting to beat. Tips to get it right
To know when we have reached the “snow point” when beating our whites, we must know the different phases they go through during preparation. The first phase is that of “foam” ; This is reached when you begin to beat the whites, like when we beat the egg to make an omelette.
As we continue beating with more speed (or energy) and introducing air into our whites, we reach the phase of “soft tips” , which is reflected in small tips without consistency that do not stay upright; then they go into the “stiff tips” phase .
Here we see that the tips begin to have enough body and consistency to stay in that position, but not to hold something (try to stick a spoon vertically and check if it stays upright).
This means that there is little left to reach our final goal. We must continue beating until the tips remain completely firm and the consistency of the whites is so much that we can turn the bowl without moving the content a millimeter. At that time we have reached the “snow point” .
It is important that when we reach this last phase we stop beating, since we risk spoiling our whites: the foam becomes lumpy and the water in the mixture escapes until the foam dissolves. If what you need is to get more density in your foam, add a little acid (vinegar, lemon or cream of tartar ).
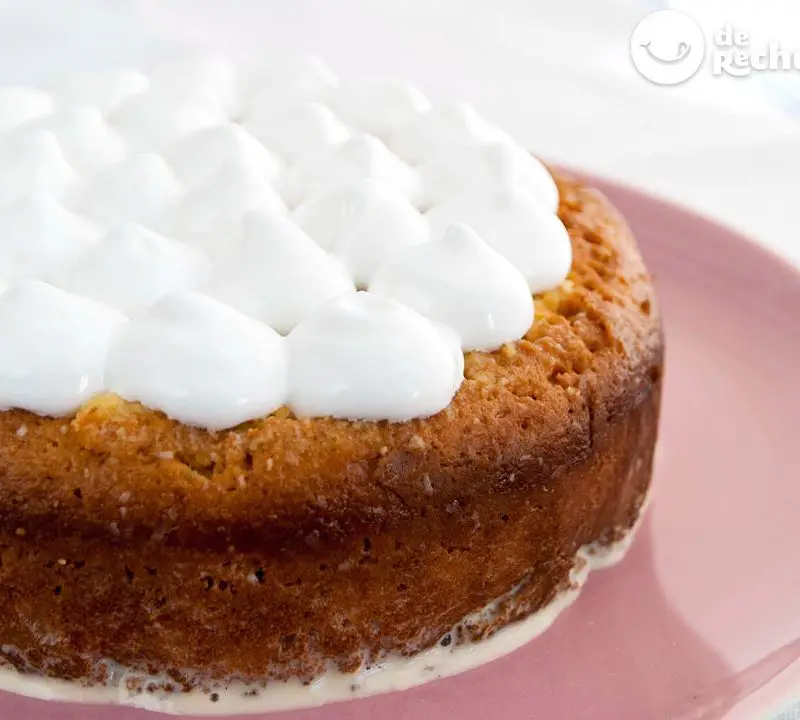
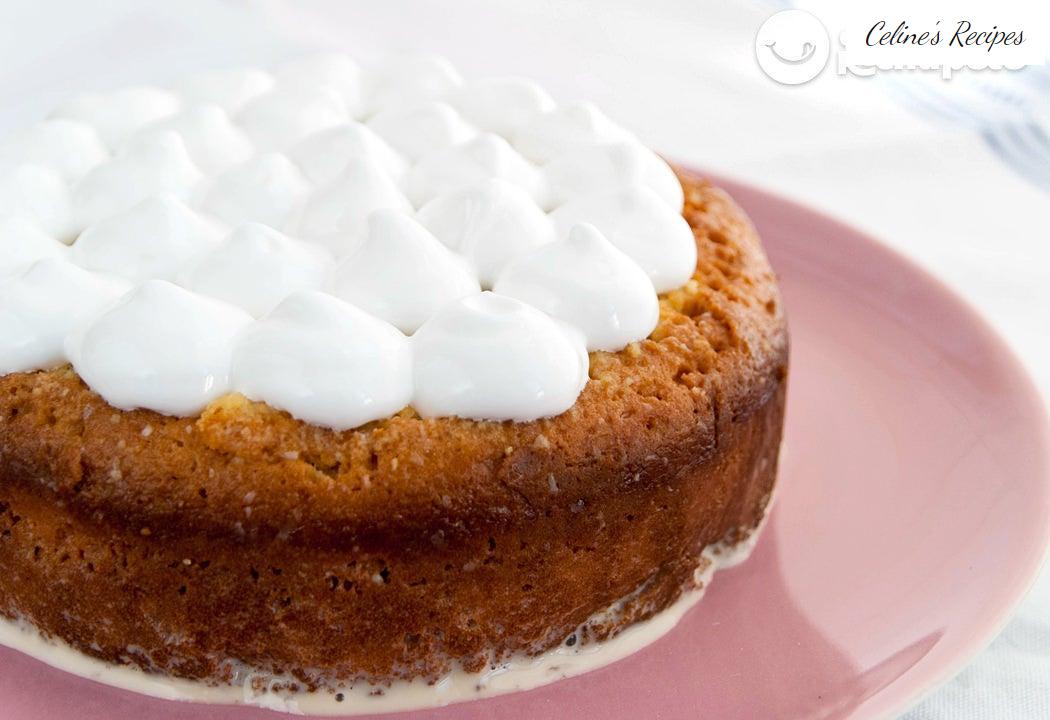
Snow whites are very recurring in baking
It is usual to find this step in many common recipes such as sponge cake, meringue, mousse and even ice cream . So we must know how to mount our whites well until they are perfect to achieve the best results.
Like every process and technique, this one also has some ingredients and steps to follow to make it work. Here we explain how to mount the whites until stiff.
Preparation of the whites until stiff
- Separate the whites from the yolks in a couple of containers.
- Put the egg whites in a wide, clean container . Add a pinch of salt and start beating on low speed until a little foam forms. When they start to foam we must add sugar . The normal thing is to add a tablespoon for each egg. The solidity of the sugar will make the whites rise faster.
- Once you have the first foam, beat at a higher speed until the whites reach the soft tips phase .
- Continue beating until the whites are so cohesive that you can tip the bowl over without fear of the whites falling out of it .
The eggs. Before you start to beat them
- As always when we cook, we must ensure that everything is clean, fat-free (a little below we will tell you why). It is very important to rinse and dry the container in which we are going to work well.
- It is recommended that the eggs are at room temperature. It is also better that they are not freshly laid , that they are light aged. One trick is to separate the whites from the yolks the day before and store them in the fridge in a bowl covered with transparent film (but don’t forget to take them out of the fridge early, before assembling them, so that they are at room temperature and the process is successful) . The reason is that these whites will have a little less water in their composition and more protein, which will make them ride better.
- We have to separate the whites well . It is essential that there are no traces of yolk in our container. The yolk contains fat and the fat prevents foam from forming. Nothing happens if you drop a little yolk in the container where you have the whites, you can remove it with a fork or a spoon, but to avoid it, it is best to slice each of the eggs in a separate bowl, never in the that you are clear. As you break and separate the yolk from the white, you are adding each of the whites to a larger bowl where they are all.
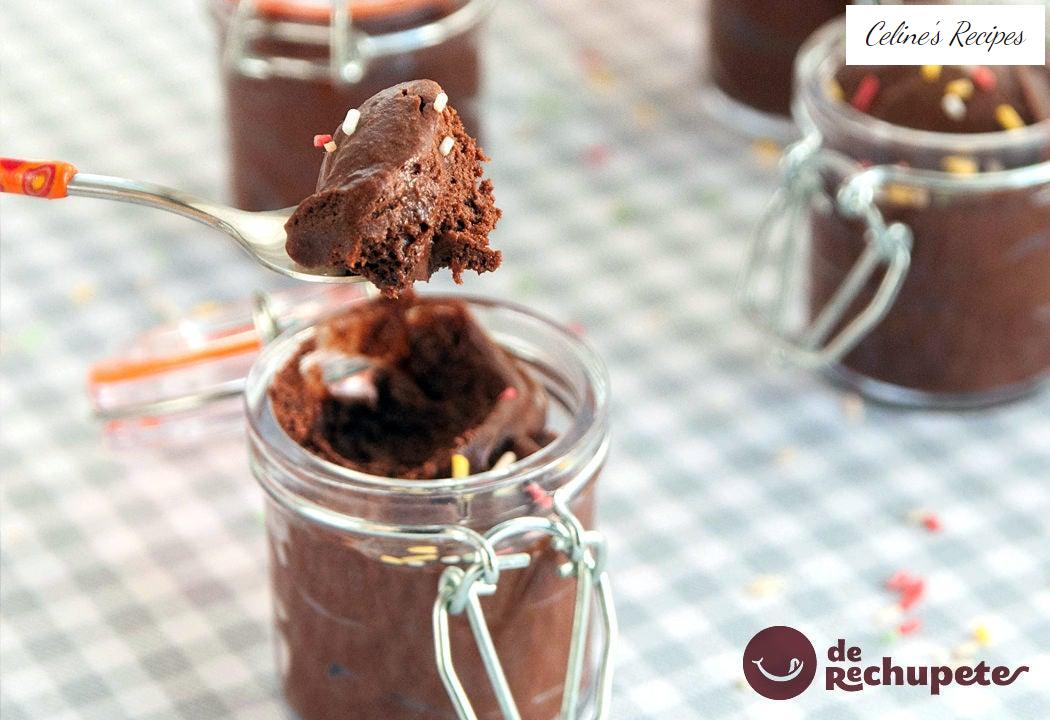
- Although we are not going to use the egg yolks to assemble our whites, we reserve them to prepare another dessert: custard, Catalan cream, pastry cream … whatever we want!
Some tips and tricks to help you beat
- We must begin to beat at low speed . If we use an electric mixer, it is preferable to do it at low speed at first; Another trick is to start beating with a fork until our whites are fluffy and then switch to the electric rods. In this way, beating at low speed, we will be able to help the formation of smaller air bubbles that will give more consistency and stability to our whites. If you are going to mount the whites manually you will have no problem … the speed is set by the wrist and will never be as high as that of the electric mixer.
- To make the whites firm and fluffy we can add a pinch of salt before beginning to beat them. Another trick is to add a pinch of icing sugar during the process.
- You can use pasteurized whites for cold desserts. If you are going to mount egg whites to make meringue or soufflé without cooking, it is better to buy this type of egg whites. They sell them in boats to avoid problems with salmonella. If you use fresh eggs consume your recipe as soon as possible
- The ideal to add our mounted whites is to use a spatula . The movement should be from the bottom up and we should stir as little as possible when incorporating it.