Info.
- Easy
- 40 minutes
- For 6 people
- 0.5 € / person
- 290kcal per 100g.
How to make sushi rice.
The rice is the basis of Japanese cuisine. It is not a simple food with which to satisfy the appetite, loaded with a symbolic character.
There are numerous hypotheses about the origin of sushi. Perhaps the most likely is the one that talks about seasoning rice with vinegar as a way of preserving fish and shellfish and pressing it to avoid air contact with these meats.
Originally, rice was discarded, but over time it has been valued, thus giving rise to the sushi itself.
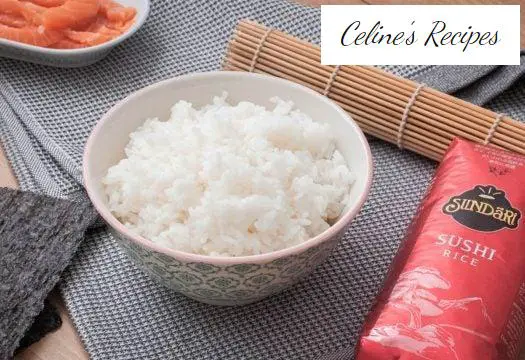
Cooking rice is essential in making good sushi. We must make it soft and caked after cooking, but with a core of a certain hardness. For this, the use of a specific rice, glutinous rice, is essential to ensure success. I recommend the one that has special Sundari to prepare sushi.
The cooking point of the rice, the amount of liquid and the degree of flavoring are the key points to achieve a perfect sushi rice.
Preparation of rice. Cooking
- We start by washing the rice in cold water until clean water comes out, without a trace of starch.
- This process can take some time but it is essential to achieve an ideal result.
- Once we have the clean rice, we will leave it to soak for 15 minutes, stirring it from time to time, before continuing the process.
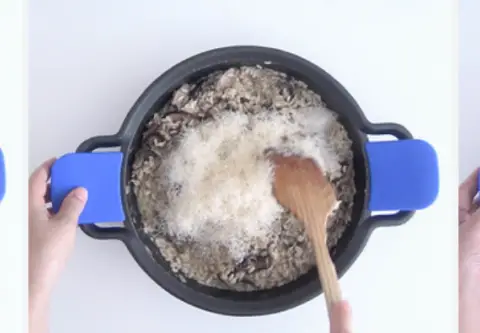
- In a saucepan add the soaked rice, water, sake and kombu seaweed.
- We cover the casserole and bring it to a boil. When it starts to boil, lower the heat and let it continue cooking the rice for 12 minutes, until the water has run out.
- If it is the first time that you do it, I advise you to use a pot with a glass lid to control the whole process. Perfect to see the rice cooking at all times.
Preparation of seasonings and final presentation of rice
- While the rice is cooking we prepare the seasoning. In a bowl we mix the mirin, the vinegar, the sugar and the salt. We reserve.
- Once the rice is cooked, we uncover the casserole to remove the steam and remove the seaweed.
- We put the rice in a wooden or porcelain bowl, never metallic.
- Pour the seasoning over the rice and mix well with a spoon to integrate it and cool the rice at the same time. If you want to do it professionally, with the special palette for that purpose called Shamoji.
- We fan the rice to cool it down. We can do this with a fan or more comfortably or with a fan focused on the bowl where we have the sushi rice.
- With the spoon or palette we will move the rice, leaving the hottest grains on top and those that are cooling down, until everything is warm
We cover the rice with a moistened cloth, while we are preparing the sushi, to keep it in the best conditions during the process.
We already have our rice ready to prepare the sushi that you like the most. Although we are passionate about garnish at home, we love it.
Here you have a step by step in photos where I show how to prepare this rice recipe for sushi . Do not miss any detail so that it is delicious.
Tips for a Perfect Sushi Rice
- Cooking sushi rice is laborious, but not difficult, you just have to follow the steps and I assure you that it will be perfect. You just have to use the right ingredients and follow our advice.
- I repeat that we need a rice that is glutinous or something sticky, such as the one I recommend from the Sundari brand, especially for making sushi. Do not do round rice, basmati, jasmine and any long grain, it will not go well.
- If you liked the recipe and you are going to prepare it more times, I recommend that you get a rice cooker or suihanki, a small household appliance that is very cheap and popular in Asian countries that prevents us from keeping an eye on the clock, leaving the rice at its point hot.
- Hermetically sealed sushi rice can last 1 and a half days out of the fridge. Another possibility is to keep it wrapped in plastic wrap and frozen. To defrost and heat it, it is recommended to use the microwave.